What to Do When a Pipe Bursts in Your Denver Home
A burst pipe is one of those plumbing emergencies that tends to go from bad to worse in a hurry. Water spreads fast, soaks into drywall and subfloor before you've even found the shutoff, and causes secondary damage that can far exceed what the original pipe repair would have cost. The difference between a manageable repair and a major remediation project is often just a matter of how quickly the water gets stopped — and what you do in the first ten minutes.
Afford-A-Rooter Plumbing has been responding to emergency calls across Denver, Westminster, Arvada, Broomfield, and the surrounding metro since 2006. We've walked into a lot of situations where homeowners made smart decisions under pressure and minimized the damage, and others where small delays turned a straightforward fix into a weeks-long project. This guide covers exactly what to do if a pipe bursts in your home, in order, and when to stop troubleshooting and make the call.
1. Turn Off the Main Water Supply Immediately
This is the single most important action you can take. Before you call anyone, before you start moving furniture, before you look for the source of the leak — shut off the water. Every second the main supply is running, more water is entering the affected area. The main shutoff valve is typically located where the water line enters the home: in a basement utility area, near the water heater, or in a mechanical closet. In older Denver homes, it may be near the front foundation wall. If you're not sure where yours is, find it now — before an emergency happens.
Once the main is off, turn on a faucet at a lower floor or outside to drain pressure from the lines. This stops water from continuing to flow out of the break even after the supply is cut. It also confirms the main is actually shut off; if water keeps running after you've opened a faucet and turned the valve, the valve may not be fully functional and you'll need to contact your water utility to shut off at the street.
If the burst pipe is near an electrical panel, outlets, or any live wiring — and water is present — do not enter that area. Shut off power to that zone at the breaker box first, or leave the area and call 911. Water and electricity in close proximity is a life safety issue, not just a plumbing one.
2. Stop the Spread — Contain the Water You Can
With the supply off, the next priority is limiting how far the standing water travels. Water moves toward the lowest point and seeps under walls into adjacent rooms quickly. Towels, mops, and buckets are useful for immediate containment, but the bigger concern is water getting under flooring and into wall cavities, where it can cause mold growth within 24–48 hours if it isn't dried properly.
If it's safe to do so, move furniture, rugs, and electronics out of the affected area. Roll up rugs and prop them upright somewhere dry — rugs left flat in standing water are almost always a total loss. Electronics should come off the floor and out of the room entirely if they've been exposed to water. Wooden furniture can absorb water from the legs and begin warping quickly, so get it elevated or moved.
Don't use a standard household vacuum to remove standing water unless it's specifically rated for wet use. Running a dry-use shop vac through water will ruin the motor. If you have a wet/dry shop vac, that's the right tool. Otherwise, towels and a mop are safer until the plumber arrives.
3. Locate and Document the Break
Once the water is off and you've done what you can to contain the spread, try to identify where the pipe actually broke. This matters for two reasons: it tells you what you're dealing with (a joint failure, a freeze crack, corrosion, or physical damage), and it gives the plumber useful information that helps them come prepared with the right parts and approach.
Look for obvious signs — a visible crack or split in an exposed pipe, a joint that's separated, or a section of pipe that's visibly wet while the surrounding pipe is dry. In walls or ceilings, you'll typically see water staining, bulging drywall, or active dripping before you see the pipe itself. Take photos before you do any cleanup. Insurance claims go more smoothly when there's photographic documentation of the damage before remediation started.
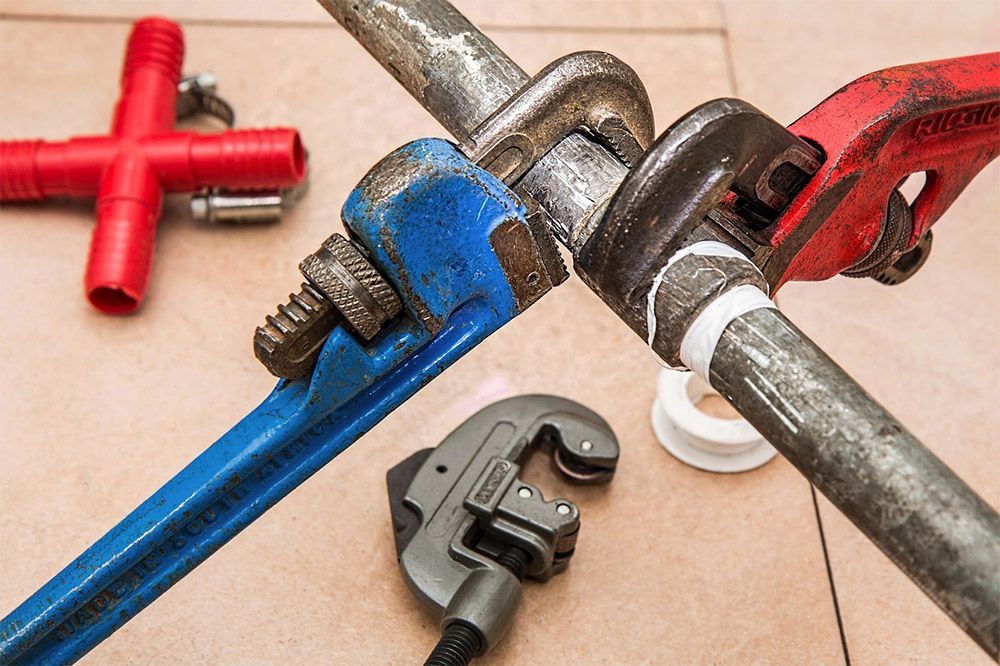
Don't attempt to repair the pipe yourself if you're not certain of what you're looking at. Temporary fixes like pipe tape, clamps, or epoxy putty can slow a drip in a non-emergency situation, but they are not rated for full line pressure and can fail quickly. If the pipe has burst rather than developed a slow leak, a temporary patch is unlikely to hold until help arrives. The better move is to keep the main water off and wait for a licensed plumber.
4. Call a Licensed Plumber — 24/7 Emergency Service Is the Right Move Here
A burst pipe is exactly what 24/7 emergency plumbing service exists for. Don't wait until morning, don't try to schedule it as a regular appointment, and don't assume the damage will be contained until then. Most of the secondary damage from burst pipes — water intrusion into framing, mold growth, floor buckling — develops in the first 12–24 hours. Getting a plumber on-site the same day is almost always worth the emergency rate.
When you call, be ready to describe where the pipe is located, what material the pipe appears to be (copper, PVC, galvanized steel), whether the break is at a joint or in the middle of a run, and whether the affected area includes any electrical components. The more specific you can be, the better equipped the technician will be when they arrive.
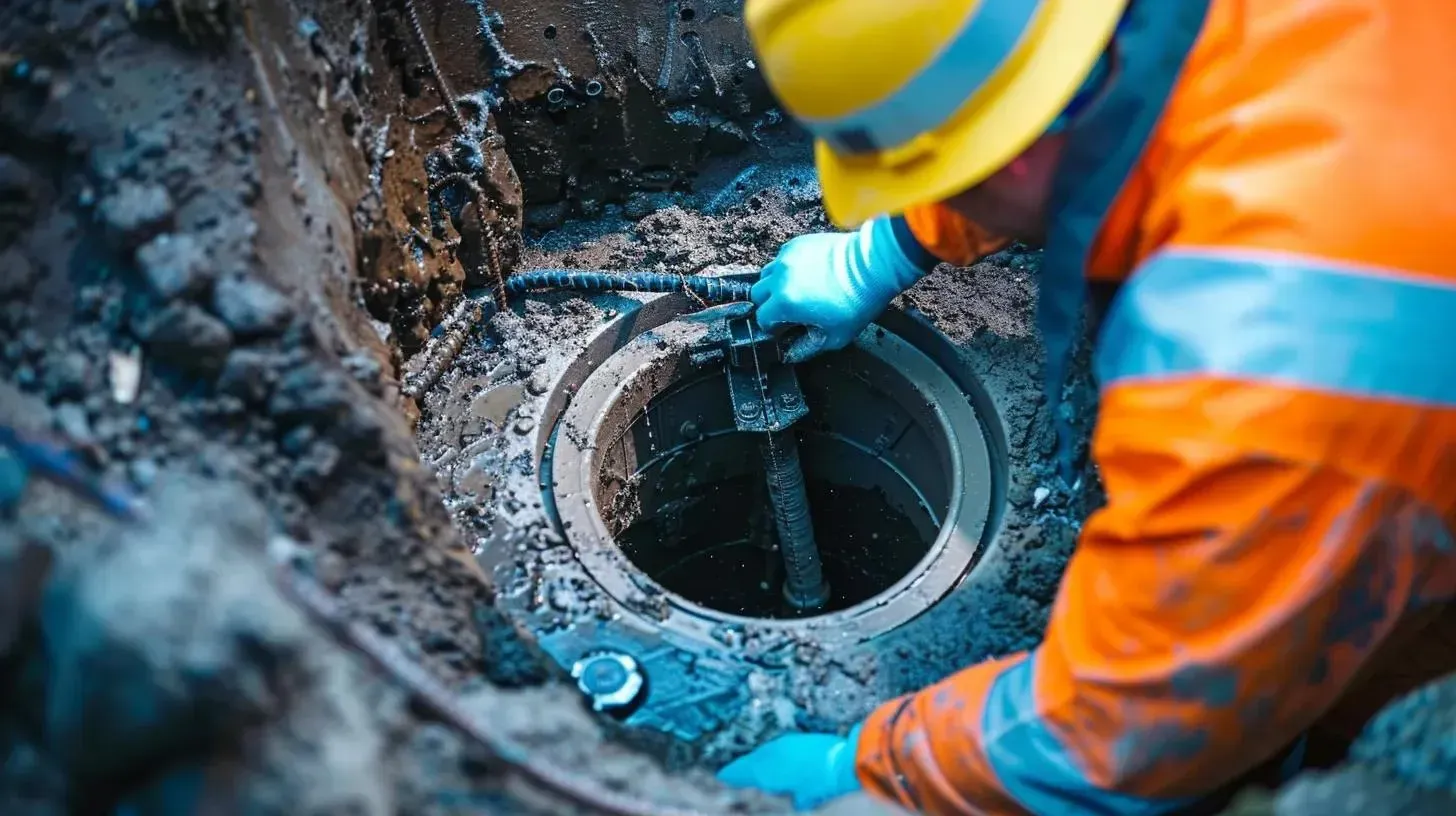
After the pipe is repaired, ask the plumber to assess the surrounding pipes if the burst was in an area that hadn't been inspected recently. Pipes in the same age range and made of the same material often fail around the same time — particularly galvanized steel, which corrodes from the inside and can develop multiple weak points simultaneously. A camera inspection or a visual check of accessible lines can identify problems before they become the next emergency. Our emergency plumbing services page has more detail on what to expect when you call.
5. Understand Why It Happened — Especially in Denver's Climate
Most burst pipes in Denver fall into one of a few categories: freezing, corrosion, high water pressure, or physical damage. Understanding which one applies to your situation matters both for the immediate repair and for preventing a recurrence.
Freeze bursts are the most common in Denver during winter cold snaps. Pipes in exterior walls, unheated garages, crawl spaces, and basement rim joist areas are most vulnerable. When water freezes inside a pipe, it expands and creates pressure that the pipe can't contain, often causing a split that doesn't actually leak until the pipe thaws. Our post on how to winterize your plumbing system to avoid frozen pipes covers the key prevention steps, which are worth reviewing if a freeze was the cause.
Corrosion bursts are more common in older homes — particularly those built before 1980 with galvanized steel supply lines. These pipes corrode from the inside out, and the first visible sign of a problem is often a sudden burst rather than a slow leak. If your home has original galvanized plumbing and you've had a corrosion-related burst, repiping the affected lines — or planning a full repipe — is worth discussing with your plumber. Our repiping services page covers what that process looks like and what it typically involves.
High water pressure is a quieter culprit that most homeowners don't think about until something fails. Denver's municipal water pressure can run high in certain neighborhoods, and consistent over-pressure stresses pipe walls and joints over time. A pressure reducing valve (PRV) installed on the main line keeps pressure in the safe range. If the plumber finds that your home's pressure is running above 80 PSI, that's worth addressing at the same time as any burst pipe repair.
What the Repair Process Looks Like
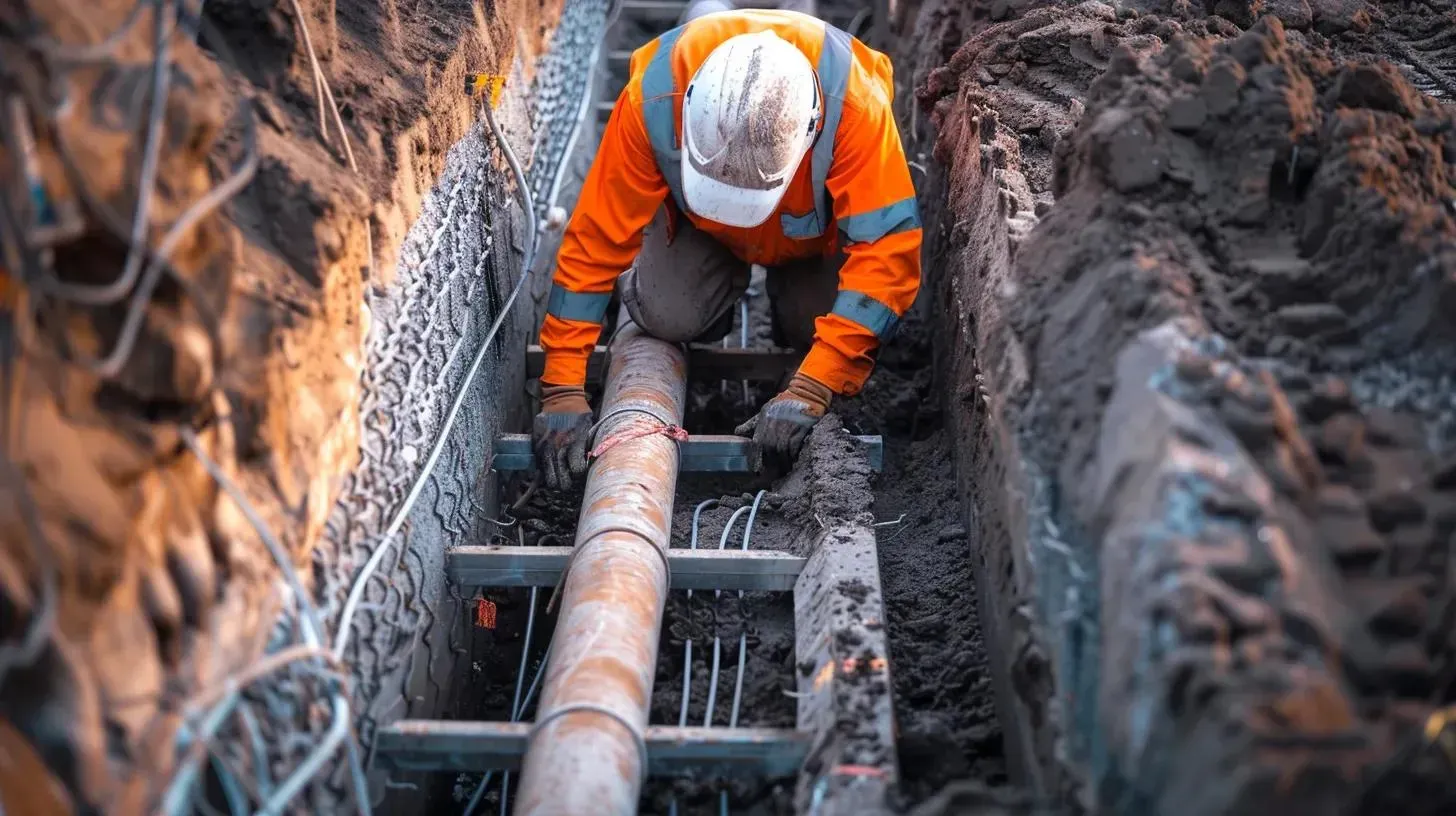
For most burst pipe repairs, the plumber will cut out the damaged section and replace it with new pipe and fittings of the same material, or cross to PEX or copper if the original material was galvanized or a low-quality product. The repair itself is usually a few hours of labor. The more variable part is the access — if the pipe is inside a finished wall or ceiling, opening up drywall to reach it adds time and typically requires a separate contractor to patch and repaint afterward.
If the pipe is accessible in a basement, crawl space, or utility area, the repair is generally straightforward. Pipes inside finished walls are more involved. Be prepared for the plumber to need to cut drywall, and factor in the cost of drywall repair when you're budgeting. Some homeowners are surprised when the repair bill is modest but the restoration work on the wall or ceiling costs more — that's normal and is part of any accurate estimate upfront.
After the repair is complete, the plumber will restore water and check the repair under full pressure before leaving. Ask them to walk you through what was done and why, and to point out any other pipes they noticed that may be showing signs of wear. A complete picture of the plumbing's condition is valuable after any emergency repair, particularly in older homes.
Afford-A-Rooter Plumbing is available 24 hours a day, every day, for burst pipe emergencies and any other urgent plumbing situation across the Denver metro. Call (720) 296-7972 and we'll get someone to you. If you're evaluating an older home's plumbing and want to know whether warning signs were present before a failure, our post on warning signs your sewer line is failing covers the indicators that show up early — for sewer lines and, in many cases, aging water lines as well.
The Afford-a-Rooter Plumbing Repair Guarantee
24/7 Immediate Response
Certified Emergency Plumbing Service Professionals
Affordable, High-Quality Services
Recent Blog Post