How to Winterize Your Plumbing System to Avoid Frozen Pipes
Winterizing your plumbing system is one of the simplest ways to reduce the risk of frozen pipes, surprise leaks, and expensive water damage during cold weather. The goal is not to overcomplicate things. It is to protect the parts of your plumbing that lose heat fastest, prepare for deep freezes, and know the safest next step if one section still freezes.
If you want a broader look at plumbing help for leaks, clogs, water heaters, and cold-weather pipe issues in Denver, start with the AffordaRooter Plumbing Denver plumbing services page, which outlines solutions across common residential and emergency plumbing needs.
When should you winterize your plumbing system?
You should winterize your plumbing before the first serious cold stretch, not after you see frost on the forecast. For most homeowners, that means using early fall and late fall to handle outdoor fixtures, exposed piping, insulation gaps, and shutoff checks before a sudden cold snap forces a rushed fix.
Winterizing early matters because pipes usually freeze in the same predictable places: exterior walls, garages, crawl spaces, attics, basements, cabinets on outside walls, and outdoor fixtures. Waiting until temperatures plunge makes every small oversight more expensive.
A good rule is to split the work into two rounds. In the first round, handle hoses, hose bibs, sprinkler lines, and exposed pipe insulation. In the second round, test shutoff valves, confirm vulnerable areas are protected, and make a plan for what you will do if Denver gets a multi-day freeze.
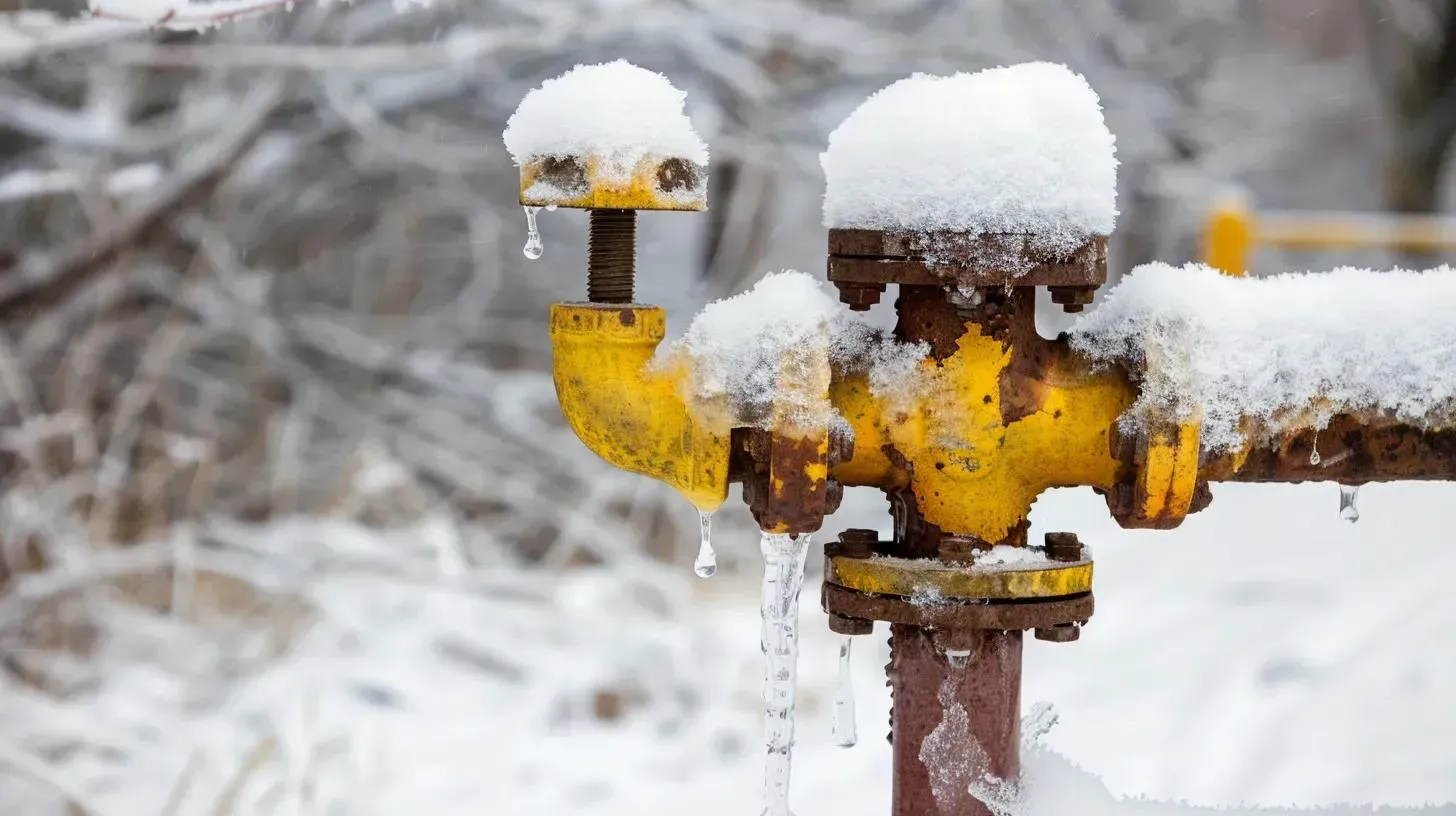
Which pipes and fixtures are most likely to freeze?
The pipes most likely to freeze are the ones exposed to cold air, weak insulation, or low airflow. That usually means outdoor plumbing first, then indoor lines routed through unheated or drafty parts of the home.
| Area or fixture | Why it is vulnerable | What to do before a freeze | When to call for help |
|---|---|---|---|
| Outdoor hose bibs and spigots | Water can sit in the line and freeze fast | Remove hoses, shut off interior supply if available, drain the line, add an insulated cover | If the shutoff will not close or the faucet leaks after draining |
| Pipes in garages, crawl spaces, and unfinished basements | These areas lose heat quickly | Add pipe sleeves or heat tape where appropriate and seal obvious drafts | If sections are hard to access or already show staining, corrosion, or past freeze damage |
| Pipes along exterior walls | Cold air reaches them faster than interior runs | Improve insulation, keep the room heated, and watch cabinets or vanities on outside walls | If recurring freezing has happened in the same wall before |
| Kitchen and bathroom sink lines on outside walls | Cabinets trap cold air and reduce airflow | Keep cabinet doors open during severe cold and remove stored items blocking warm air | If water flow drops repeatedly during winter |
| Irrigation, sprinkler, and other seasonal lines | Water left inside expands when frozen | Drain lines fully and follow manufacturer or installer winterization steps | If you are unsure whether the line is completely drained |
What steps actually prevent frozen pipes?
The most effective winterization plan starts outside, then moves inside, then finishes with a quick cold-weather response plan. The idea is to remove trapped water where you can, insulate what stays in service, and make sure the home never gets so cold that vulnerable lines sit in freezing conditions for too long.
Start with outdoor plumbing first
Outdoor fixtures are often the first weak point. Disconnect garden hoses, drain them, and store them somewhere dry. If your home has an interior shutoff for outdoor faucets, close it and open the faucet outside so leftover water can drain.
Add insulated covers over outdoor spigots, but do not treat the cover as the whole job. The bigger win is shutting off and draining the section when your setup allows it.
Protect the cold zones inside the house
Insulate exposed hot and cold water lines in basements, crawl spaces, attics, garages, and utility areas. Focus first on pipes near exterior walls, short exposed sections under sinks, and any line that has frozen before.
If you can feel a cold draft near a pipe, treat the draft too. Pipe insulation helps, but cold air leaking through gaps around a sill plate, crawl space opening, utility penetration, or garage wall can still create a problem.
Prepare for time away and overnight freezes
Do not turn the heat off completely when you leave town. Keep the home warm enough to protect pipe areas, especially if plumbing runs through cabinets, exterior walls, garage-adjacent walls, or unfinished spaces.
Know where your main shutoff is before winter starts. If a pipe freezes or bursts later, you do not want to figure that out for the first time while water is spreading.
Checklist: a practical winter plumbing walk-through
- Remove and drain outdoor hoses
- Shut off and drain outdoor faucet lines if your home has interior shutoffs
- Add insulated covers to hose bibs and exposed exterior fixtures
- Insulate exposed hot and cold pipes in unheated spaces
- Open access to vulnerable sink cabinets during severe cold
- Check for drafts near pipes and seal obvious gaps
- Test that your main water shutoff works and is easy to reach
- Make a plan for vacations, weekend trips, and vacant days during cold weather
Example 1: A homeowner leaves for a five-day ski trip and turns the thermostat way down to save money. The house stays quiet, but the pipe behind a kitchen sink on an exterior wall gets cold enough to freeze. A better move is to keep the home safely heated, clear the cabinet under that sink, and leave a simple freeze plan in place before leaving.
Example 2: A garage has a short exposed section of pipe running above the wall into a laundry room. The laundry room feels warm, so the homeowner assumes the pipe is protected. In reality, the garage side stays much colder. Adding insulation, keeping the garage door closed in deep cold, and checking that transition point before winter is what prevents the problem.
If you are not sure where your freeze-prone areas are, the appropriate next step is the AffordaRooter Plumbing Denver plumbing services page, where vulnerable sections can be inspected and prioritized for the right fixes before the next cold snap.
What should you do during a deep freeze?
During a deep freeze, the priority shifts from setup to active prevention. Keep warm air moving to vulnerable pipes, avoid big indoor temperature drops, and use a slow trickle of water only where exposure makes freezing more likely.
Open cabinet doors under sinks on exterior walls so room air can reach the plumbing. If you have an attached garage and plumbing runs through or beside it, keep the garage door closed so that colder air does not push the pipe temperature down further.
For especially vulnerable lines, a very slow drip can help keep water moving. Denver Water recommends cracking a faucet farthest from where water enters the house, and it also advises keeping the thermostat above 65 degrees when leaving for several days during cold weather.
Denver Water’s cold-weather tips for preventing frozen pipes include opening sink cabinet doors to expose plumbing to indoor heat and keeping garage doors shut if pipes are routed through the garage.
What should you do if a pipe freezes anyway?
If a pipe freezes, act early and stay controlled. Open the affected faucet, locate the likely frozen section if you can, and warm the pipe gradually with safe heat such as a hair dryer, warm towels, or an electric heating pad used carefully.
Do not use a torch, propane heater, or any other open flame. That can damage the pipe, start a fire, or create a much worse emergency than the freeze itself.
The City of Arvada’s guidance on preventing frozen pipes recommends insulating both hot and cold water lines in unheated areas and using safe thawing methods such as warm towels, a hair dryer, or an electric heating pad, while avoiding open-flame devices.
The American Red Cross also advises against using a blowtorch or other open flame to thaw frozen pipes.
If you cannot reach the frozen section safely, if water pressure does not return, or if you find a split, crack, or active leak, treat it as urgent. If water is spreading or you are unsure what to do next, our emergency plumbing page is the best next step.

What mistakes put plumbing at risk even after you think you are prepared?
Most frozen-pipe problems come from a few preventable mistakes. Homeowners often do some of the right things, but miss one weak point that ends up causing the damage.
Common mistakes and red flags:
- Leaving hoses attached to outdoor faucets after temperatures start dropping
- Relying on an outdoor faucet cover without shutting off and draining the line when possible
- Turning the thermostat too low or off entirely during a trip
- Forgetting short pipe runs in garages, crawl spaces, attics, or under cabinets on exterior walls
- Assuming only cold-water lines freeze when hot-water lines can freeze too
- Using extreme heat or open flames to thaw a frozen section
- Ignoring a weak trickle from a faucet, frost on a visible pipe, or a pipe that has frozen in the same area before
One of the biggest red flags is a line that has already frozen once. That usually means the location itself needs a better long-term fix, not just a temporary thaw.
Frequently asked questions about winterizing plumbing
Do I need to drip a faucet all winter?
No. A drip is usually a short-term cold-snap tactic, not an all-season plan. The better long-term fix is insulation, shutoff-and-drain steps for outdoor lines, air sealing around cold areas, and keeping the house adequately heated.
Can hot water lines freeze too?
Yes. Hot water lines in unheated or drafty areas can freeze just like cold-water lines. That is why winterization should focus on exposed piping in general, not only the cold side.
Should I shut off the water if I leave town?
That depends on the home, the length of the trip, and whether someone will be checking on the property. For many homeowners, the safer baseline is to leave the heat on, protect vulnerable lines, and make sure the main shutoff is easy to access if a problem shows up.
When is a frozen pipe an emergency?
A frozen pipe becomes an emergency when you see leaking water, a visible crack, water near electrical components, major loss of pressure, or signs that the frozen section cannot be reached or thawed safely. At that point, speed matters more than trial and error.
If you want help checking vulnerable pipes, improving winter protection, or dealing with a plumbing issue before it becomes an emergency, our Denver plumbing team can help.
The Afford-a-Rooter Plumbing Repair Guarantee
24/7 Immediate Response
Certified Emergency Plumbing Service Professionals
Affordable, High-Quality Services
Recent Blog Post